How to Do Pink and White Nails
How to Do Pink and White Nails? If you’re looking for a classic, pretty nail look that’s different to the usual red polish and doesn’t require much special equipment apart from some paintbrushes and clear nail varnish, then this post is for you!
If you’re just getting started with nails or looking to improve your skills, then there are a few tips in this guide that will help you create smooth and shiny acrylic nails which look like they’ve been professionally done.
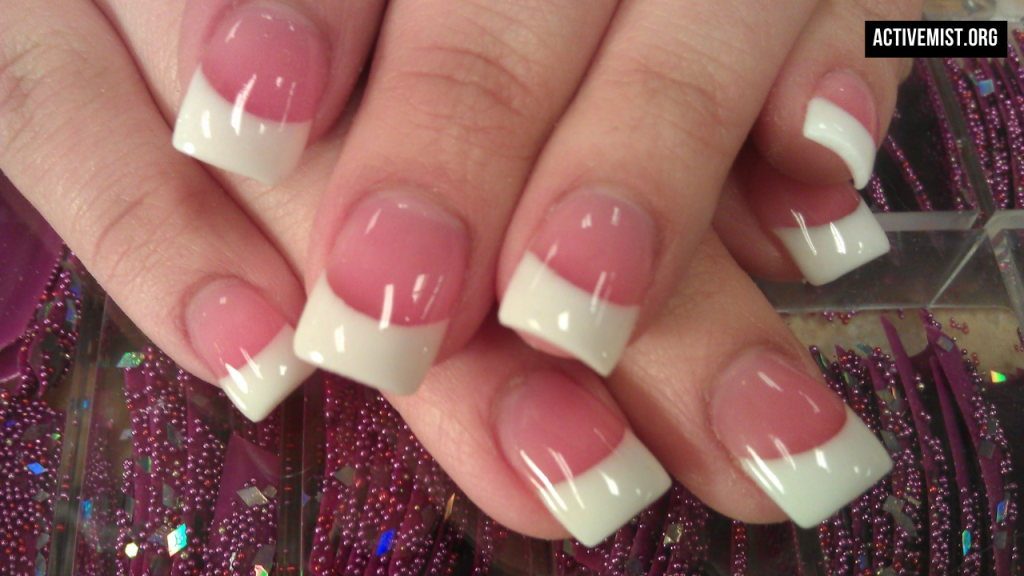
We’ll also show you how to easily produce an impressive pink and white manicure that stands out from the crowd but still looks beautiful.

Gather your materials
It can be tricky and stressful to choose a colour or design when painting your nails. Before you get started, it is important to research what colour combinations work best together and what atmosphere you will be performing your manicure in.
After all, you wouldn’t want your nail polish to chip off too soon if you were planning on going swimming!
- Nail polish remover
- Cuticle pusher
- Acrylic liquid
- Pink and white acrylic powders
- Acrylic nail brush
- Acrylic nail forms
- Clear topcoat
- Paper towels
Prepare your nails
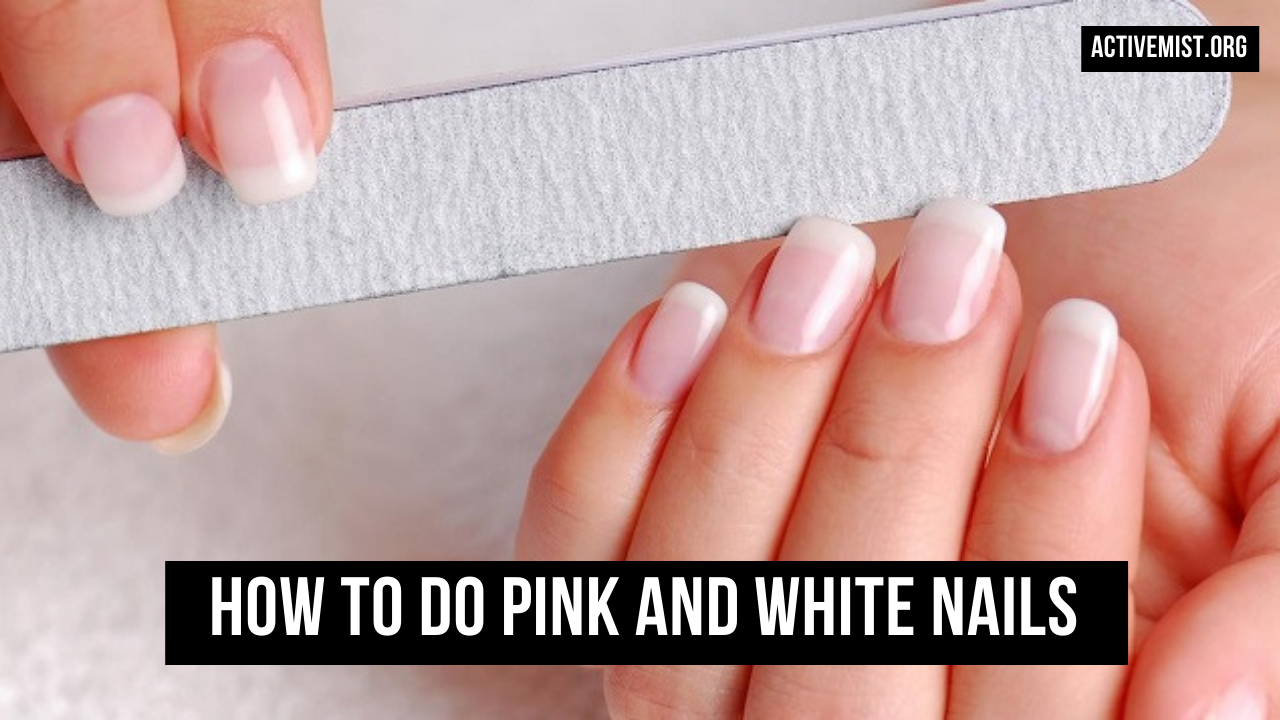
Before you start do a pink and white manicure, it’s important to make sure your nails are ready. The first step in getting a great base coat is by:
- Wash your hands
- Remove any old nail polish
- File and buff the nails
- Push back the cuticles
Put on the nail forms
Some people use nail forms to build up their nails when they’re not growing quickly enough or give a smooth finish to the chipped top layer. You can make your nail form with polish and someone else’s nail as mould, or you can pick one up in specialized beauty stores.
People use different types of nail forms depending on their personal preference and the requirements for their specific nails because the soft ones look very well if you have thin and long nails.
Still, if you have short fat nails, it will leave marks that are very visible on the surface of your fingers.
- Each open portion of the nail forms should go over the top of your nails.
- The backside of these forms should stick to your nails.
Create a ball of best liquid and powder
You will want to make small with a brush and acrylic liquid and powder to create your nails. To start, dip the brush into your acrylic liquid. Then, dip your brush into the powder acrylic.
- You should now have a small amount of paint on your brush.
- Apply the paint to the nail form by placing some onto it from the bristles of your brush.
Form the ball into a nail tip
Use your brush to shape the acrylic nail form into a nail tip shape on your nails. Create a rounded line where the nail will meet with your natural nail and round out the tip of the nail as well.
This is where you might put some colour into it to make that smooth transition from the nail tip to the inside when painting it pink and white for a quality finish.
Think about the way a smile can be described. It involves two curves that curve inward towards each other. Nails look similar to smiles because they, too, have curves.
Take your thumb and index fingers and create a “C” shape, with your thumb tucked inside. Curve the ends of this shape inward and then curve the top half across, making sure the end of it extends beyond your fingertip. The bottom part should curl under to fully emulate a smile!


